APM Time Entry
Use APM Time Entry to add a new APM Time Entry for a project job Operation.
- Path
-
Advanced Project Management > Project Accounting > General Operations > APM Time Entry
| For further information, refer to the standard Kinetic Help topic Entering Time in the Service Management module (Time Management). |
-
Navigate to Advanced Project Management > Project Accounting > General Operations > APM Time Entry.
APM Time Entry opens with an employee selected.
-
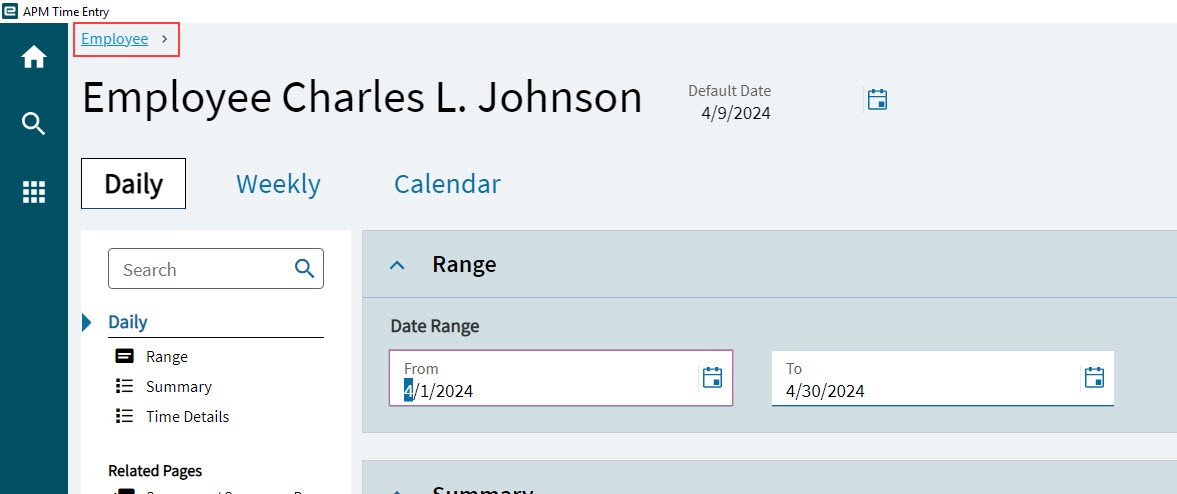
To select a different employee, select Employee on the breadcrumb at the top of the application.
-
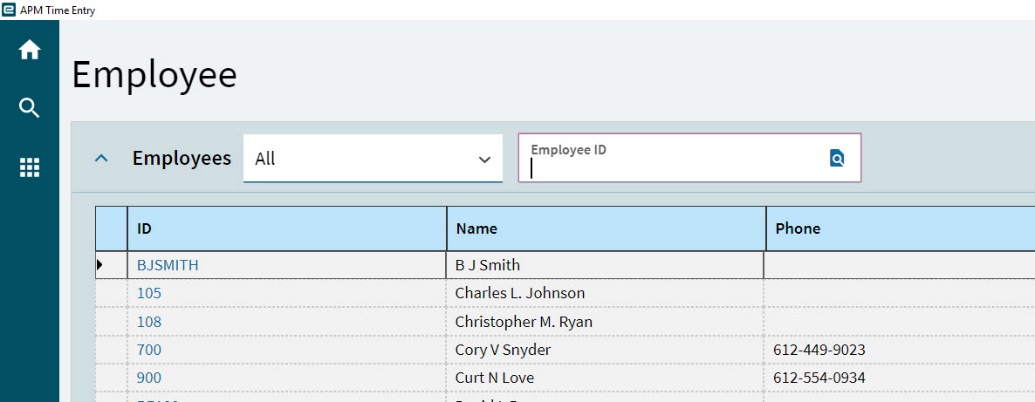
Search for and select an Employee.
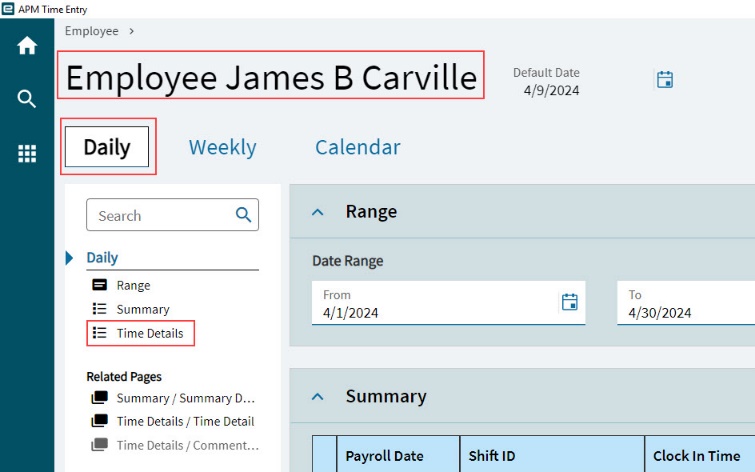
The selected employee name appears in the header, and the Daily page is selected.
-
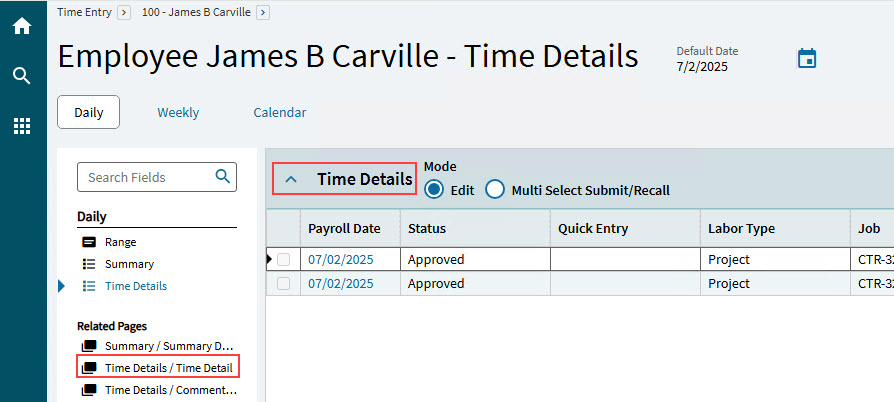
Select Time Details on the Navigation Tree.
The Time Details card expands.
-
Select New Time Detail
 on the Time Details card toolbar.
This creates a new Time Details record for the employee.
-
Select Time Details / Time Detail on the Navigation Tree.
-
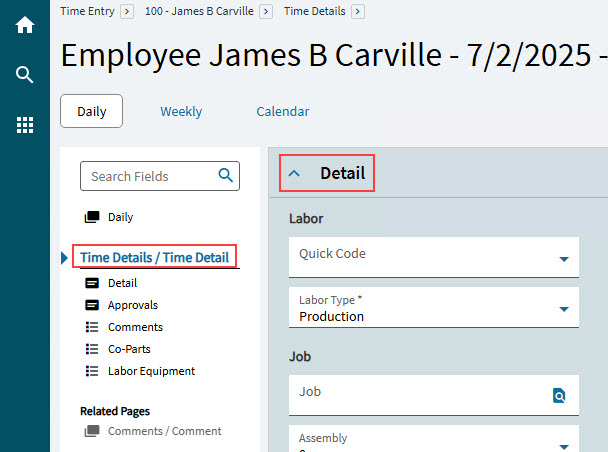
Select New Time Detail
on the Standard toolbar.This opens the Detail card.
-
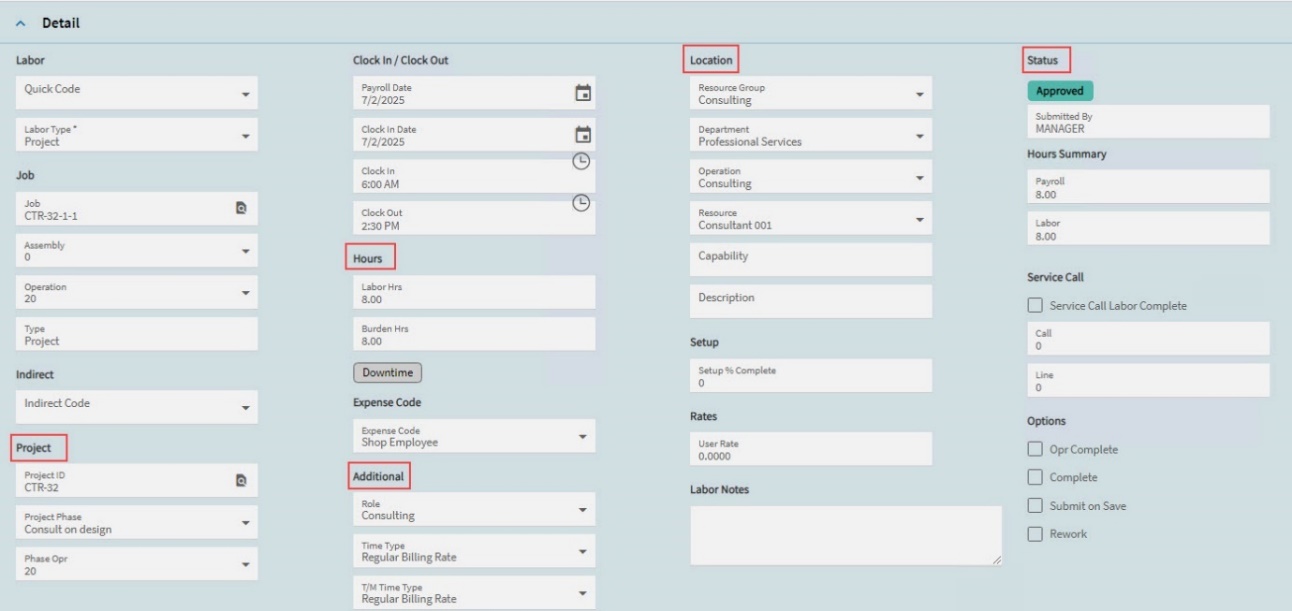
Complete the Detail card:
-
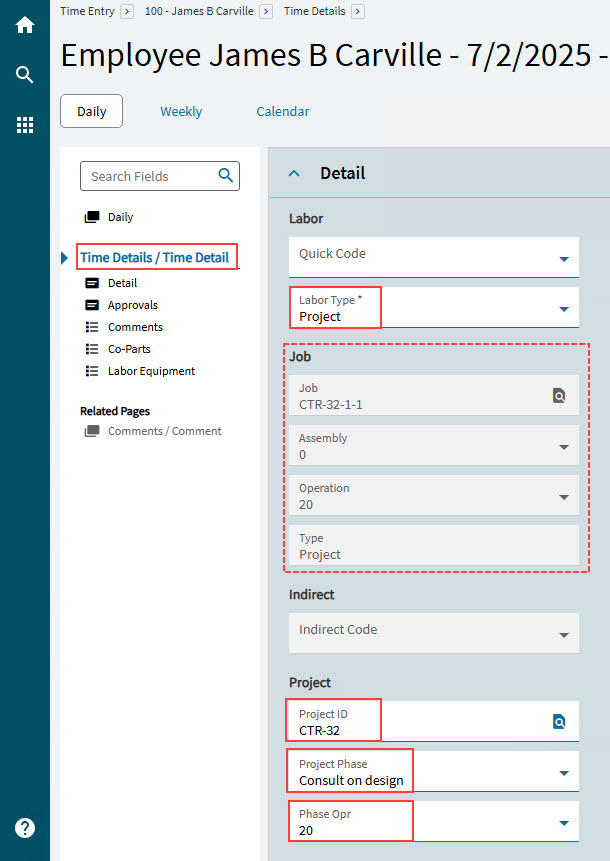
Select Project from the Labor Type drop-down list.
-
Select a Project ID, Project Phase and Phase Opr relevant to the Project, WBS Phase and Job operation you are capturing time against.
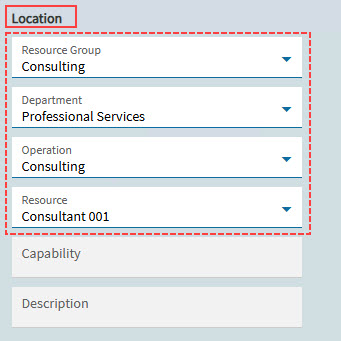
The selected Project Phase populates the Job field with the job for the selected phase. The selected Phase Opr populates the Resource Group, Department, Operation and Resource in the Location section.
-
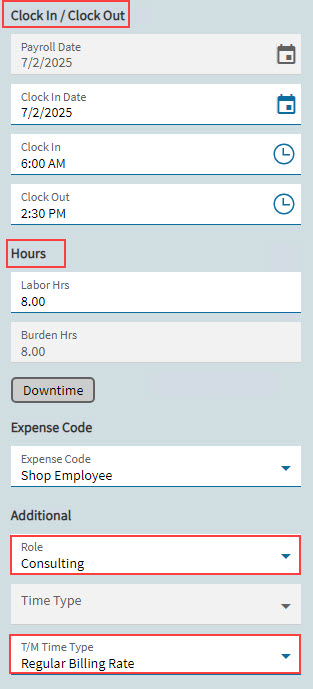
Check the Clock In / Clock Out details and update if necessary.
-
Check the Hours.
-
In the Additional section select a Role and select a time type from the T/M Time Type drop-down list, for example Regular Billing Type.
These should match the Time Type in the Labor Rate for the related contract, and the Role Code relating to the Operation.
-
-
Select Save
 then select Submit on the Standard toolbar.
 -
Ensure the Status is Approved if you want to see the results in the project. (If Auto Approve Time is selected on the Employee record, then their time is auto approved on submission).